Category: Help for Students
You can use Teams to communicate and collaborate with fellow students, groups, and teachers. Within a group (team) you can chat, have online (video) meetings, share and collaborate on documents and more.
Downloading, installing and logging in
Go to this page for information on downloading and setting up your account.
Introduction
There are two types of teams for students: Class teams and Other teams
Class team
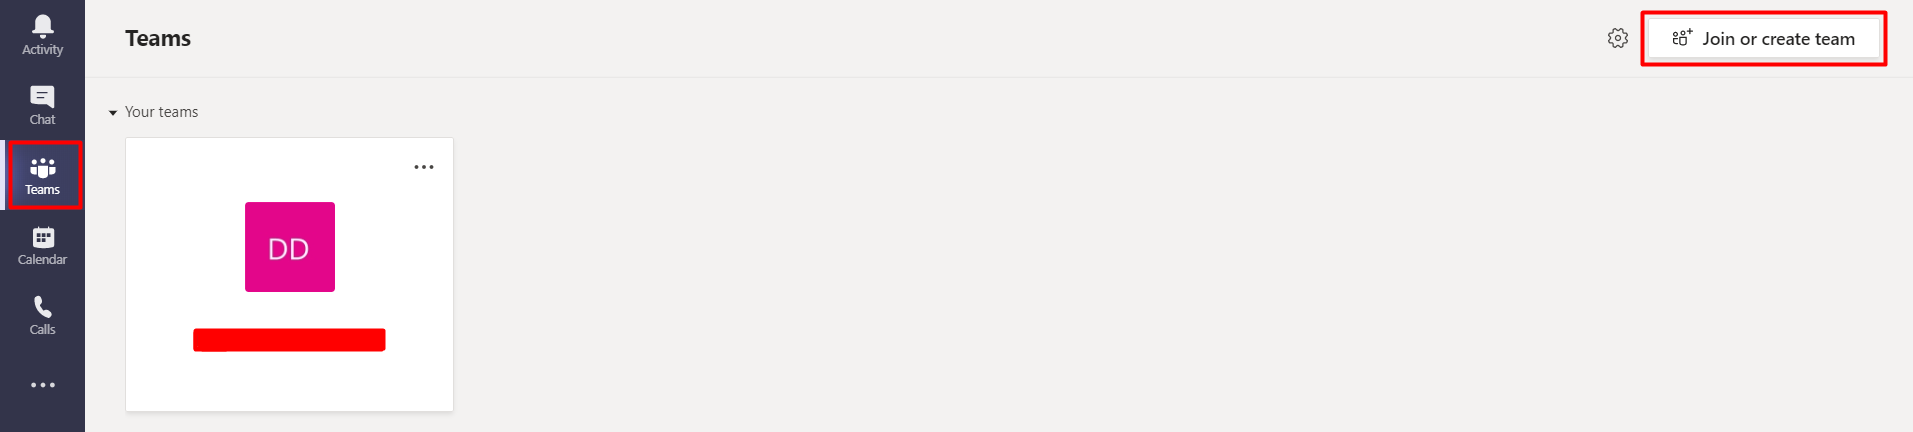
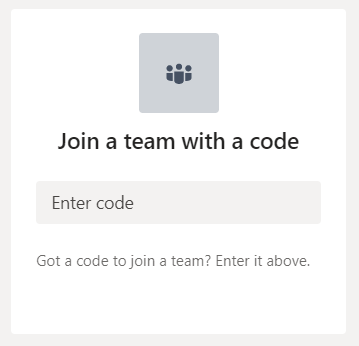
This is a team that you are added to by a teacher or teaching assistant, or you are provided with a code which you can use to join this class. This latter option can be found under Teams > Join or create team.
Then you will be able to Enter your code in the box provided.
Other team
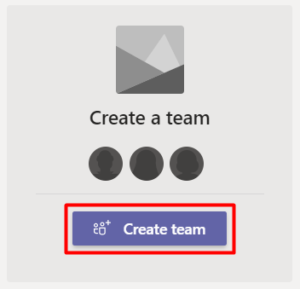
This is a team that you can create yourself, for example for a project group. To do this:
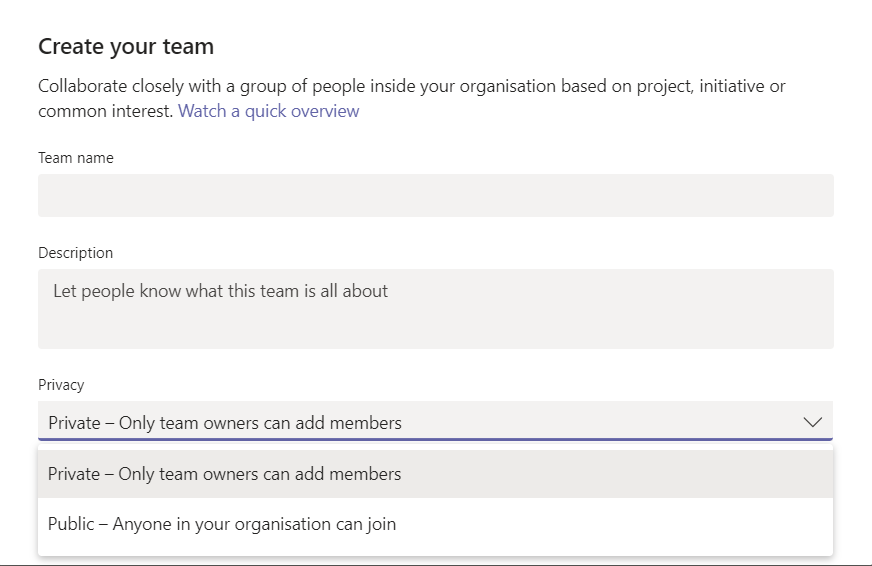
- Go to Teams > Join or create team and click Create team.
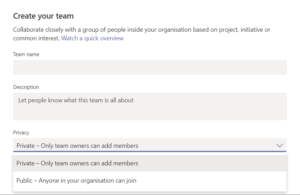
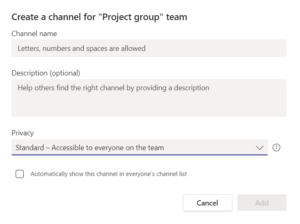
- Then a menu will pop up which requires you to fill in the Team name, Description and Privacy:
- Private – only members can be added by team owners.
- Public – anyone with a TU Delft email address will be able to join the Team.
- Click on Next.
- Add members to the team. Here you will see the option of making this person a Member or a Owner.
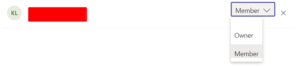 ‘
‘ - Click on Close. The team will be created with the members added.

 ‘
‘Useful functionalities for students are mentioned below.
| Functionality | Description |
| Online meetings | You can create online meetings. It’s possible to share your screen, use the chat and create breakout rooms. |
| Chats | In a team you can chat with your fellow students, teaching assistants, or instructors. Within a chat you can also share documents and images. It’s also possible to use multiple channels. |
| Collaboration in documents | Collaborate real-time in Word documents, PowerPoint presentations or Excel sheets. Work together with your fellow students on a project or an assignment for example. |
| Notes | Share notes real-time in Teams and before, during, and after a Teams meeting. The notes are connected to Microsoft OneNote. |
| Planner | Organize tasks by adding one or more Planner tabs to a team channel. Create a plan, add and assign tasks to team members. |
| Class Notebooks | Every class team (created by a teacher) comes with its own linked OneNote Class Notebook. The Class Notebook is a digital notebook for the whole class/group to store text, images, handwritten notes, attachments, links, voice, video, and more. |
| Calendar | The calendar imports your meeting information from your exchange calendar. |
| Personal settings | You can access personal settings by clicking on your initials on the top left and selecting settings. There are settings for themes, lay-out, privacy, what notifications you receive and many more. |
In this accordion you can find a learn the basics functionalities of Microsoft Teams. Below is a picture of what Teams looks like:
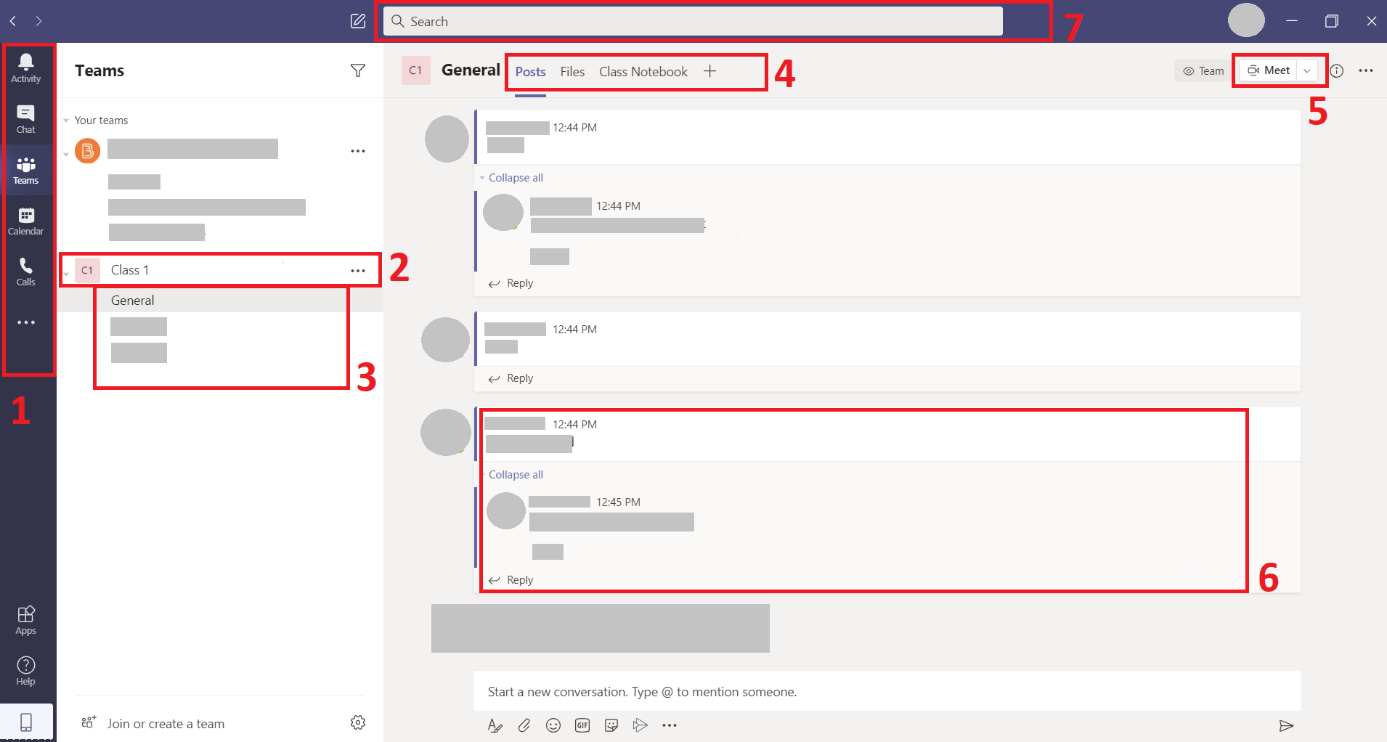
In the Navigation bar (1) you can navigate to the different screens of Teams:
- In Activity-menu you will get all your notifications of everything that happens in Teams.
- In Chat-menu you can see all one-on-one chats as well as group conversations with multiple people.
- In Teams-menu you can find the Teams (2) that you are part off and create new Teams.
- Within Teams you can make Channels (3) for specific topics or projects.
- Each channel has Tabs (4). By default, the Post, File and Notes tabs are present. In the Posts-tab Everyone within the channel can start conversations (6) and reply on them. In the Files-tab you can store files that are related to the channel. Every channel has its own file repository. The Notes-tab is linked to a notebook in Microsoft OneNote and gives the ability to make collaborative notes. You can add tabs to quickly navigate to apps, or files if you wish.
Learn more about Notes in MS Teams - Within a channel you also have the possibility to start an online (video) meeting (5).
At the top of the page you can find the Search bar (7). You can search for anything or anyone in teams.
Tip: You type /help in the Search bar to find help on using Teams and /Whatsnew to see what new functionalities are added to Teams (new updates are coming very regularly).
Working in Teams
For group meetings, students can set up chats/meetings within channels to easily communicate amongst one another. Within the channels, students can also work together within documents.
When a Team is created it always has and will have a General channel. This General channel cannot be deleted or edited in anyway. It is meant as a main chat in which anything can be discussed.
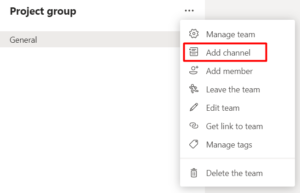
However, you can also add Channels you want to create. These can be deleted and edited and are created as followed:
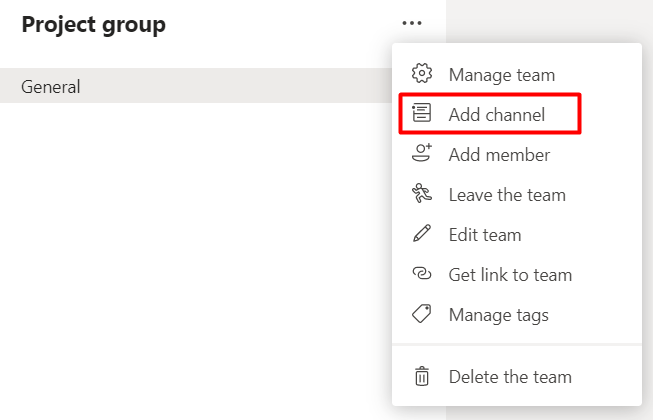
- Go to the Teams page and select the More options
 (next to the Teams Title).
 - Click on Add channel.
- A pop-up will appear in which you can add information for the new channel.
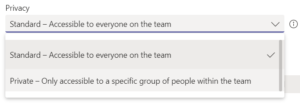
- For privacy you can select whether you want it to be on Standard or Private.
- When you completed the settings, click on Add and your new channel will show underneath the General channel.


Post in Team
To create a message for your whole team:
- Click Teams
 in the vertical menu on the left.
 - Click on your team and select a Channel.
- Select the Posts-tab.
- Click the Compose box on the bottom, type your message and click Send
 .
. - Use @ and the name of your Team or Channel to notify every one of your post.
Example: @teamname - Use the Reply option to when you reply instead of starting a new chat.
Conversation in a Chat
Chats can be with one other student/instructor or a group of students and an instructor. Every meeting has its own chat, but you can also start a new chat:
- Go to Chat in the left vertical menu.
- Click New chat
 at the top of Teams window or use Ctrl + N
 - In the To-field, type the name(s) of the people you’d like to chat with.
- Optionally give the chat a Group name by selecting the Down arrow to the far right of the To-field.
- Type your message in the compose box and Click Send .
In a chat, you’ll be able to send messages but also include files, links, emojis, stickers, and GIFs.
While hovering over your sent message with your mouse, you can click the three dots:
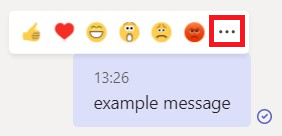 This opens a dropdown menu:
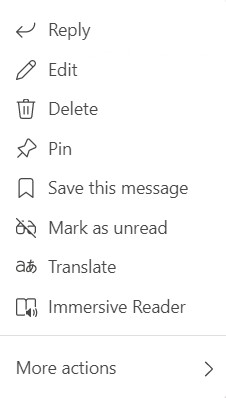 By clicking Reply, you can reply to the message, by including the message at the top of your reply.
- By clicking Edit, you can edit your sent message.
- By clicking Delete, you can delete your message for everyone.
- By clicking Pin, you can pin your message to the top of the chat, making it easily accessible by clicking the Thumbtack symbol in the top left of your chat screen.
- By clicking Save this message, you can save the message in the chat.
- By clicking Mark as unread, you can make it so that people you are chatting with cannot see that you have read the message.
- By clicking Translate, you can translate the message to your desired language.
- By clicking Immersive Reader, the message will be read out loud.
Starting a meeting
- Click Teams in the vertical menu on the left.
- Click on your team and select a Channel.
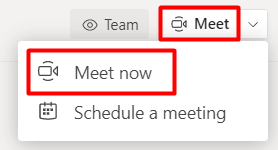
- On the top bar in the right corner click on the drop down arrow and select Meet or Meet now in de drop down menu.
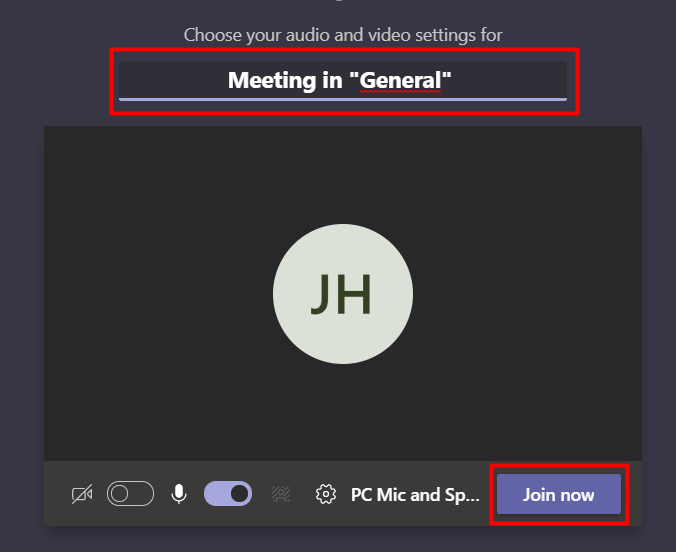
- In the pop up screen, you will be able to change the Title of the meeting on top. Moreover, you have options off putting on the Camera and Microphone.
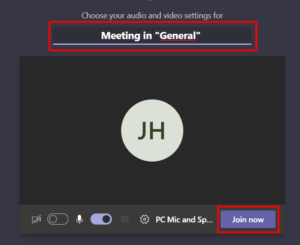
- After you have selected the right settings, you can select Join now to start the meeting.
- When a meeting has already, you can simply click on Join that will show in the top-right corner of the Channel.
How to schedule a meeting
- Open the Channel that you want to schedule your meeting in
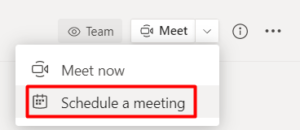
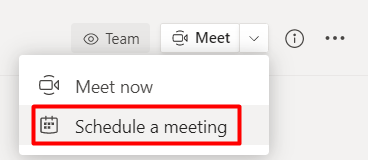
- On the top bar in the right corner click on the drop down arrow and select Schedule a meeting
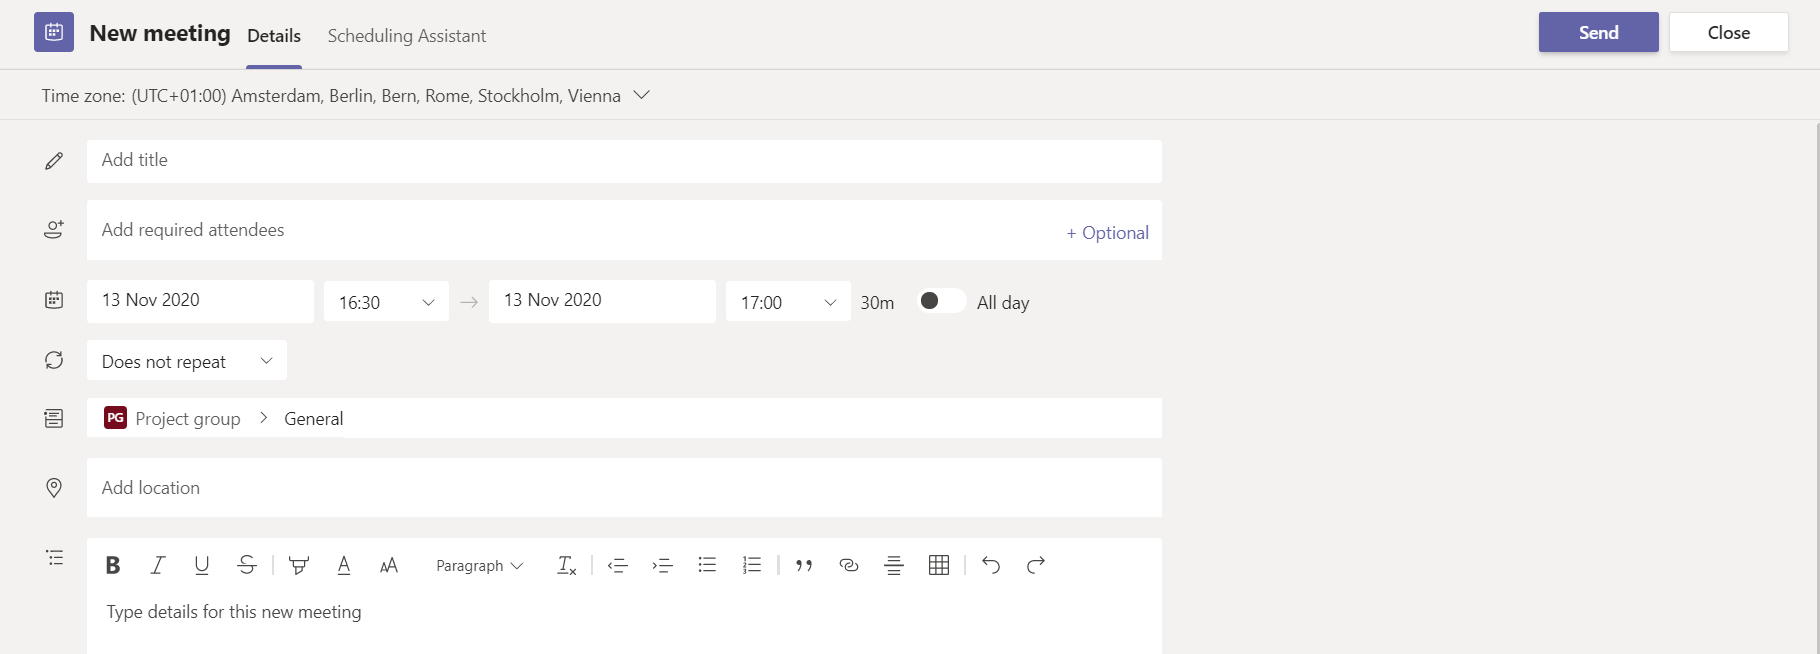
- Now you will see a menu for which you need to fill in all the details of your meeting.
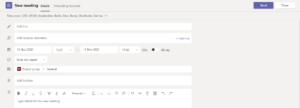
- When all the details have been filled in, click on Send and the meeting will be scheduled and shown in your Calendar.
Joining a scheduled meeting
- Go to the Team-menu on the vertical navigation bar.
- Open Channel where you scheduled the meeting.
- Open the meeting.
- Click on Join on the top-left.


Each Channel, (meeting) Chat has its own Files folder where files can be shared for that specific Channel, (meeting) Chat. To access that folder: go to the Channel or (Meeting) Chat and select the Files-tab above the conversation window.

Depending on your role and the permissions in the Team you can create New files and folders(1) or Upload exciting files and folders (2) and work on them simultaneously in a Channel. 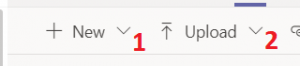
Tip: Pin the most used files to the top of your list for easy access. Right click on the file and select Pin to top.
Tip: Organize your files in Folders.
Share a file in a conversation
You can also share files in the Post-tab or a Chat. Any file you here can be opened by all the students in that Channel or Chat.
- In your Post-tab or the Chat, click Attach-icon
 under the box where you type your message.
 - Select one of the options.
- Select a file and add it to the post.
- Click Send .
The file you shared can be found in the Files-tab of the Channel or Chat.
Collaborate on files
In Teams you can work on files together at the same time. When you post a file in the Posts-tab, you can start a conversation about a file on which everyone in the Channel can respond.
- Go to the correct Team and Channel in Teams.
- In a Posts-tab or in the Files-tab, select More options next to the file.
- Choose if you want to Edit in Teams, Open in Browser or Open in Desktop App.
- Editthe file. Colored flags show who else is working on it with you.
- When editing the file in Teams you can click on Conversation on the top-left to chat about the document.